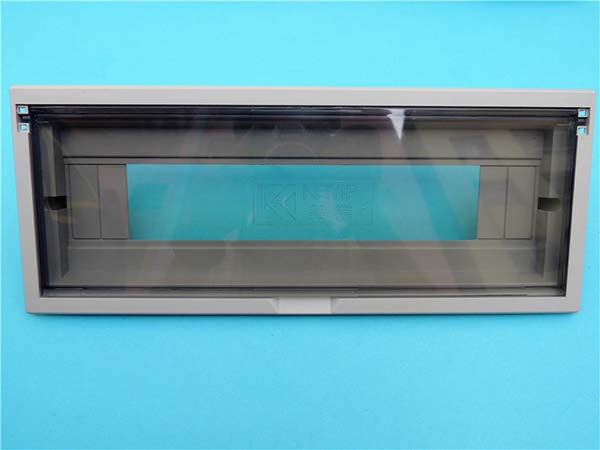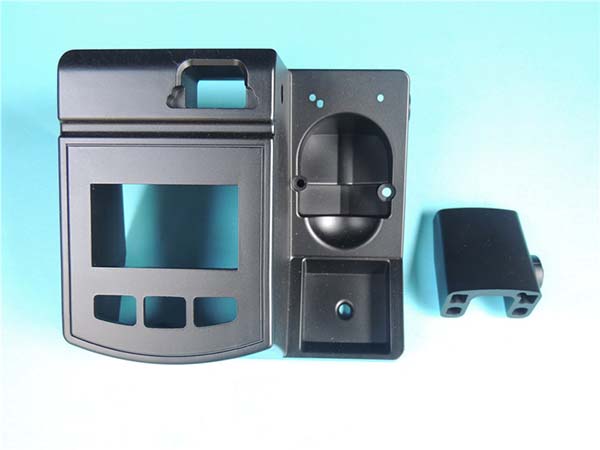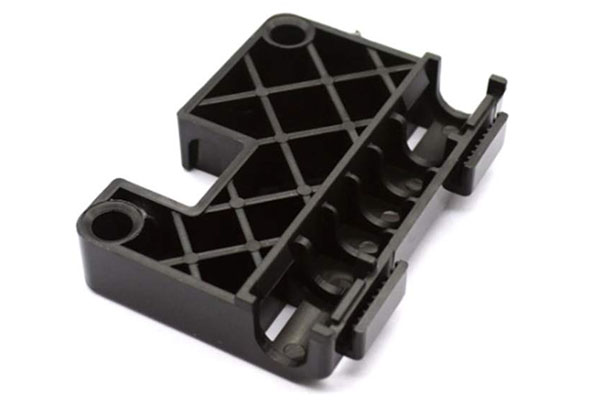
What is Injection Molding
Injection molding is a widely used manufacturing process that involves injecting molten material into a mold cavity under high pressure. This process allows for the production of complex and precise parts with high efficiency. The molten material, which can be plastic, metal, or rubber, fills the mold cavity and takes on its shape as it cools and solidifies. Once the material has hardened, the mold is opened, and the finished part is ejected.
Materials Used in Injection Molding
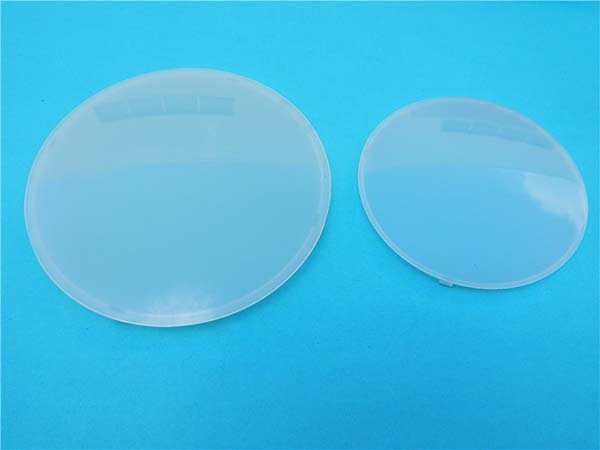
- Plastics: The most common materials for injection molding are plastics, such as ABS (Acrylonitrile Butadiene Styrene), PVC (Polyvinyl Chloride), and PP (Polypropylene). These plastics are popular because they are relatively inexpensive, easy to process, and offer a wide range of properties, including strength, flexibility, and heat resistance. For example, ABS is known for its impact resistance and is often used in the production of consumer electronics, automotive parts, and toys. PVC is a versatile plastic that can be made rigid or flexible, and it is commonly used in pipes, flooring, and packaging. PP is lightweight, has good chemical resistance, and is frequently used in food containers, medical devices, and automotive interior components.
- Metals: Metal injection molding (MIM) is a specialized form of injection molding that uses metal powders mixed with a binder. This process is suitable for producing small, complex metal parts with high precision. Metals commonly used in MIM include stainless steel, titanium, and nickel alloys. MIM parts are often used in the aerospace, medical, and electronics industries, where high strength and corrosion resistance are required.
- Rubber: Rubber injection molding is used to produce rubber parts, such as seals, gaskets, and tires. This process allows for the production of parts with excellent elasticity, durability, and resistance to heat, chemicals, and abrasion. Natural rubber and various synthetic rubbers, such as silicone rubber and nitrile rubber, are commonly used in rubber injection molding.
The Injection Molding Process
- Material Preparation: The raw material, whether it's plastic pellets, metal powder, or rubber compound, is first fed into a hopper. For plastics, the pellets are often dried to remove any moisture, as water can cause defects in the final product.
- Melting and Injection: The material is then conveyed into a heated barrel, where it is melted by a rotating screw. Once the material is fully molten, the screw pushes it forward with high pressure and injects it into the mold cavity through a nozzle.
- Cooling and Solidification: Inside the mold, the molten material begins to cool and solidify, taking the shape of the mold cavity. The cooling process is carefully controlled to ensure uniform solidification and minimize warping or shrinkage of the part.
- Mold Opening and Part Ejection: After the material has fully solidified, the mold opens, and the finished part is ejected using ejector pins or other mechanisms. The part may then undergo post - processing operations, such as trimming, polishing, or assembly.
Essential Tabletop Tools for DIY Injection Molding
Small - Scale Injection Molding Machines
When starting backyard injection molding, a small - scale injection molding machine is the core piece of equipment. Here are some models that are popular among DIY enthusiasts:
- Mini - Jet Injection Molding Machine: This compact machine is great for beginners. It has an injection volume of around 5 - 10 cubic centimeters, which is suitable for making small parts like buttons or small figurine components. The injection pressure can reach up to 10 - 15 MPa, providing enough force to fill simple mold cavities. Its advantage lies in its affordability, usually priced around \(500 - \)800. However, it has limitations in handling large - scale projects due to its small injection volume.
- LAB Injection Molding Machine/PLC TYPE: This machine is a bit more advanced. It features a PLC - controlled system with a touch - screen interface, offering 10 - language options for easy operation. The temperature range can reach from room temperature to 300°C with an accuracy of ±1°C. The theoretical injection capacity is 22 cm³, and it can handle an injection pressure of 14 MPa. It comes at a higher price, approximately \(1500 - \)2000, but offers more precise control and is suitable for more complex small - scale production, such as making small electronic components' prototypes.
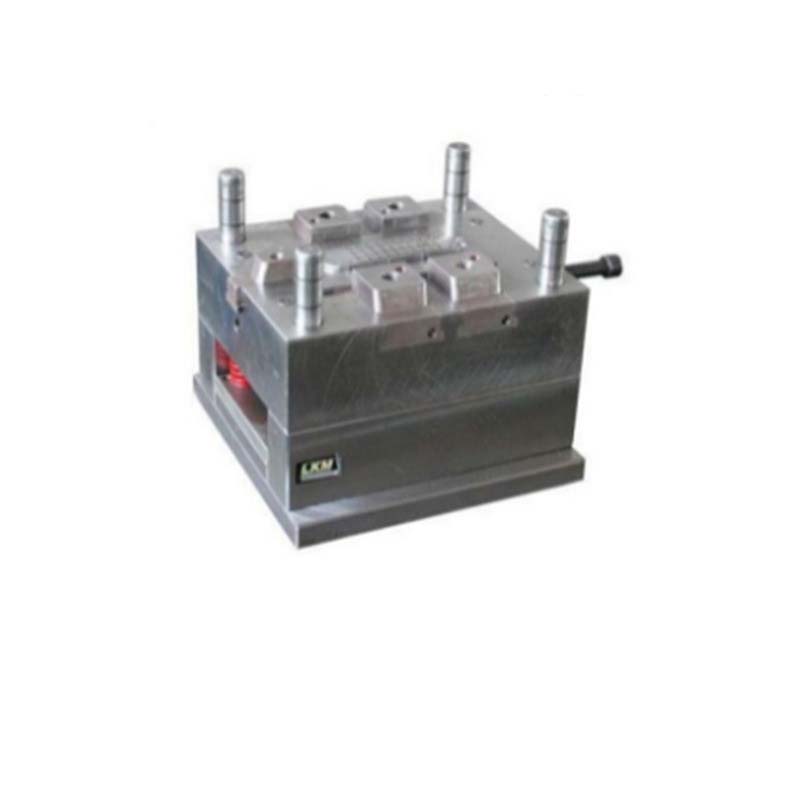
Molds
- 3D Printed Molds:
- Advantages: 3D printed molds are highly customizable. You can design and print a mold with complex geometries using a 3D printer. For example, if you want to create a unique - shaped keychain, you can design the mold in a 3D modeling software and print it at home. They are relatively inexpensive to produce, especially if you already own a 3D printer. The material cost for a small 3D printed mold can be as low as a few dollars worth of filament.
- Disadvantages: The durability of 3D printed molds is limited. They may not withstand high - pressure injection for a long time and are more suitable for low - volume production. The surface finish may also not be as smooth as some other types of molds, which can affect the surface quality of the final product.
- Silicone Molds:
- Advantages: Silicone molds are very flexible, which makes it easy to demold complex - shaped parts without damaging them. They are great for casting materials like soft plastics or wax. For instance, when making small decorative items with intricate details, silicone molds can capture those details accurately. They are also relatively easy to make at home using a simple mold - making kit.
- Disadvantages: They are not suitable for high - temperature materials like some metals. The soft nature of silicone also means it can deform under high injection pressures, so they are mainly used for low - pressure injection molding processes.
Heating and Cooling Equipment
- Heating Equipment:
- Role: In injection molding, heating is crucial to melt the raw material. A heating rod is a common heating element in small - scale injection molding setups. It is placed inside the barrel of the injection molding machine to raise the temperature of the plastic pellets or other materials to their melting point.
- Selection: When choosing a heating rod, consider its power rating and the temperature range it can achieve. For a small - scale injection molding machine, a heating rod with a power of 1 - 3 kW may be sufficient. Also, make sure it can reach the melting temperature of the materials you plan to use. For example, if you are working with ABS plastic, which has a melting point around 200 - 250°C, the heating rod should be able to reach and maintain this temperature range.
- Cooling Equipment:
- Role: Cooling is essential to solidify the injected material in the mold. A water - cooling system is a popular choice for DIY injection molding. It circulates water around the mold to absorb the heat from the molten material, causing it to cool and harden quickly.
- Selection: Look for a water - cooling system with adjustable flow rates. A system that can provide a flow rate of 5 - 10 liters per minute is usually suitable for small - scale molds. Also, consider the heat - transfer efficiency of the system. Some cooling systems come with heat exchangers to improve the cooling process, which can be beneficial if you are doing continuous production.
Step - by - Step Guide to DIY Backyard Injection Molding
Preparation of Materials
The first step in DIY backyard injection molding is to select the right plastic raw materials. For beginners, common thermoplastics like ABS, PP, and PLA are great choices. ABS offers good strength and impact resistance, making it suitable for various applications such as small electronic enclosures or model parts. PP is known for its chemical resistance and is often used in food - related products. PLA is a biodegradable option, which is environmentally friendly and can be used for making simple, non - durable items like small decorations.
Moisture in the plastic raw materials can cause defects in the final product. For example, when moisture - containing plastic is melted and injected into the mold, it can create bubbles or voids in the part, weakening its structure and affecting its appearance. Therefore, drying the plastic pellets is crucial. A simple way to dry the pellets is by using a household oven. Set the oven to a low temperature, around 60 - 80°C (140 - 176°F). Place the plastic pellets on a baking sheet lined with parchment paper. For most common plastics, drying for about 2 - 4 hours should be sufficient. However, it's important not to over - dry the pellets, as this can also cause issues like degradation of the plastic properties.
Setting up the Tools
Before starting the injection molding process, you need to set up your injection molding machine and molds correctly. First, carefully unpack the injection molding machine and follow the manufacturer's instructions for assembly. Check all the connections, such as the electrical wires and the tubing for the heating and cooling systems, to ensure they are secure.
Install the mold onto the injection molding machine. Make sure the mold is properly aligned and clamped tightly. If the mold is not aligned correctly, it can lead to uneven injection of the plastic, resulting in defective parts. For 3D - printed molds, be extra cautious as they may be more fragile compared to metal or silicone molds. After installing the mold, adjust the machine settings according to the requirements of the mold and the plastic material you are using. This includes setting the appropriate temperature for the heating barrel, which usually ranges from 180 - 250°C (356 - 482°F) depending on the plastic type. For ABS, a temperature around 220 - 240°C (428 - 464°F) is typically recommended. Also, set the injection pressure and speed. Start with a low - to - medium injection pressure, around 5 - 10 MPa, and a moderate injection speed. You can adjust these settings based on the results of your test runs.
The Injection Molding Process
- Plastic Heating and Melting: Pour the dried plastic pellets into the hopper of the injection molding machine. The pellets then enter the heated barrel, where a rotating screw conveys and melts them. As the screw rotates, it also generates friction, which helps in the melting process. Monitor the temperature of the heating barrel closely to ensure the plastic reaches its proper melting point. If the temperature is too low, the plastic may not flow properly into the mold, leading to incomplete filling. On the other hand, if the temperature is too high, the plastic may degrade, affecting the quality of the final product.
- Injection into the Mold: Once the plastic is fully molten, the screw pushes it forward with high pressure through the nozzle and into the mold cavity. The injection pressure should be sufficient to fill the entire mold cavity quickly and evenly. However, be careful not to use too high a pressure, as this can cause the plastic to flash (leak out of the mold along the parting lines) or cause excessive stress on the mold. The injection speed also plays a crucial role. A slow injection speed may result in a non - uniform flow of the plastic, while a too - fast injection speed can trap air bubbles in the mold.
- Cooling and Solidification: After the mold is filled with molten plastic, it needs to be cooled to allow the plastic to solidify. This is where the cooling system comes into play. If you are using a water - cooling system, make sure the water is circulating properly around the mold. The cooling time depends on the thickness and size of the part, as well as the type of plastic used. For example, a thin - walled plastic part made of PLA may only need 10 - 20 seconds to cool and solidify, while a thicker ABS part could take 30 - 60 seconds or more.
- Mold Opening and Part Ejection: Once the plastic has fully solidified, open the mold. Most injection molding machines have a mechanism for opening the mold, such as a hydraulic or mechanical system. After the mold is open, use the ejector pins to push the finished part out of the mold. Be careful when ejecting the part to avoid damaging it. If the part is stuck in the mold, do not force it out. Instead, check for any obstructions or improper cooling that may be causing the issue.
Post - processing
- Removing Flash: Flash is the excess plastic that seeps out of the mold along the parting lines during the injection process. Use a sharp knife or a pair of trimming shears to carefully remove the flash. Be gentle to avoid scratching or damaging the surface of the part. For small and delicate parts, you may need to use a hobby knife with a very sharp blade.
- Trimming and Finishing: The part may have some rough edges or excess material in other areas as well. Use sandpaper or a file to smooth these areas. Start with a coarse - grit sandpaper to remove the bulk of the excess material and then switch to a finer - grit sandpaper for a smoother finish. If the part has any holes or recesses, make sure to clean them out and smooth the edges.
- Painting and Coating: If you want to enhance the appearance or add additional protection to the part, you can paint or coat it. First, make sure the surface of the part is clean and free of any dust or debris. You can use a primer to improve the adhesion of the paint. Then, apply the paint or coating in thin, even layers. Let each layer dry completely before applying the next one. There are various types of paints and coatings available, such as spray paint, acrylic paint, and epoxy coatings, depending on your specific requirements. For example, if the part will be exposed to moisture, an epoxy coating would be a good choice for added protection.
Yigu Technology's View
As a non - standard plastic metal products custom Supplier, Yigu Technology believes that backyard injection molding with tabletop tools can be a great solution for small - scale creative projects or low - volume production. It allows for quick prototyping and the production of unique items at a relatively low cost. However, there are challenges. The quality of materials and the precision of small - scale tools may be limited, leading to inconsistent product quality. Also, the lack of professional - level equipment may result in more defects. Yigu Technology suggests using high - quality raw materials and conducting thorough pre - production tests. If possible, consulting professionals for mold design and process optimization can significantly improve the success rate of backyard injection molding projects.