Understanding the Injection Moulding Process
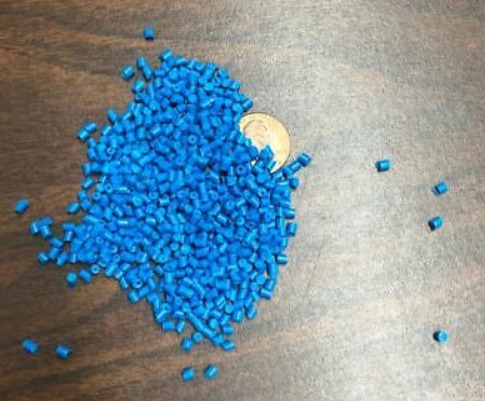
Injection moulding is a widely - used manufacturing process in the plastics industry. It involves melting plastic pellets and injecting the molten plastic into a mould cavity under high pressure. Once the mould is filled, the plastic cools and solidifies, taking the shape of the mould. After that, the mould opens, and the finished plastic part is ejected.
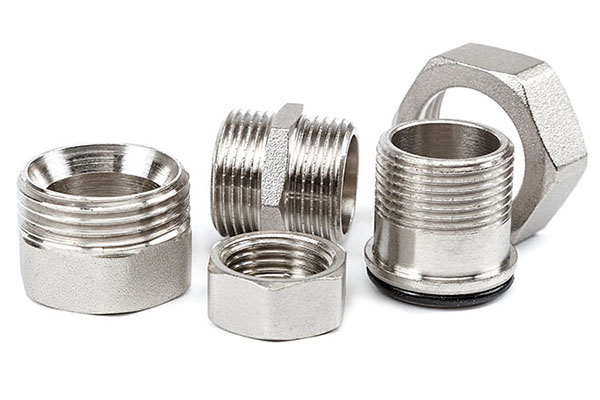
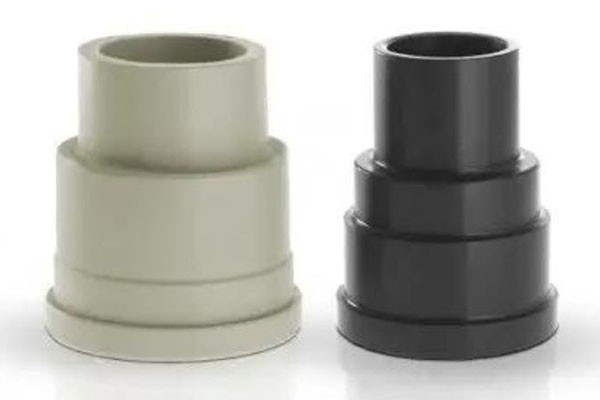
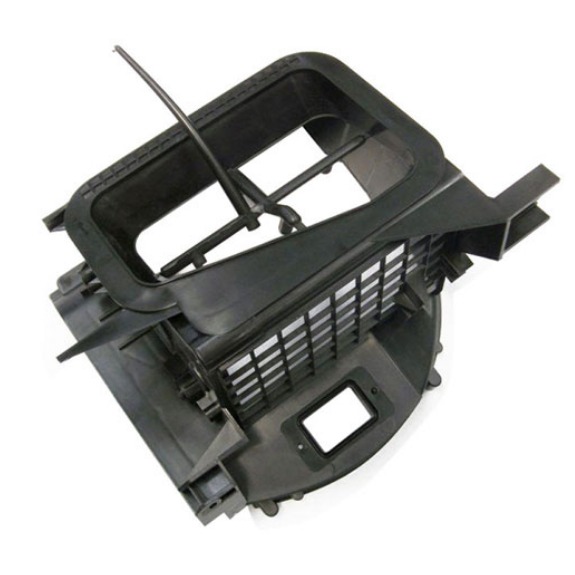
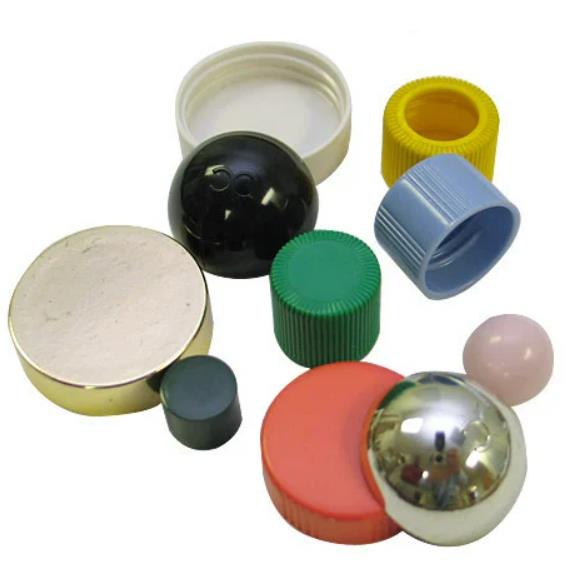
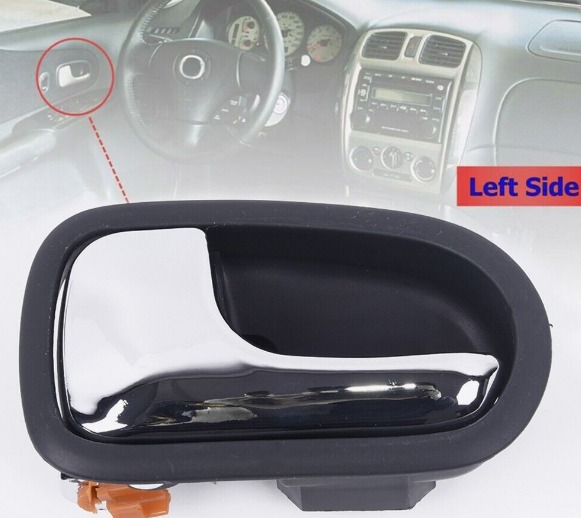
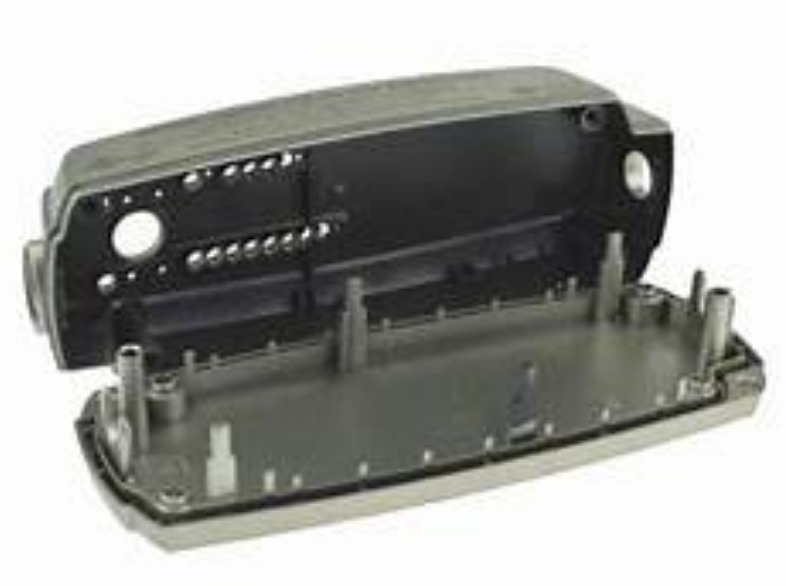
This process is highly versatile and can produce a vast range of products, from small and intricate components like electronic connectors to large - scale items such as automotive bumpers. In the electronics industry, injection - moulded parts are used in the production of mobile phone casings, keyboard buttons, and various internal components. In the automotive sector, it contributes to the manufacturing of interior trims, dashboards, and exterior body panels. According to industry reports, the global injection moulding market was valued at over $XX billion in 2022 and is projected to grow at a CAGR of XX% from 2023 - 2028, highlighting its significance in modern manufacturing.
However, the injection moulding process can be complex. Multiple factors, including temperature, pressure, injection speed, and cooling time, need to be precisely controlled. Any deviation in these parameters can lead to defects in the final product, such as warping, shrinkage, or short - shots (where the mould is not completely filled with plastic). Simplifying this process is crucial for manufacturers to improve efficiency, reduce production costs, and enhance product quality. By streamlining the injection moulding process, companies can increase their output, minimize waste, and gain a competitive edge in the market.
A Step - by - Step Guide to Simplifying Injection Moulding
Step 1: Precise Material Selection
The choice of material is fundamental in injection moulding as it directly impacts the product's performance, durability, and cost. When selecting a material, one must consider the product's end - use requirements. For instance, if the product is for use in a high - temperature environment, materials with high heat resistance like polyetheretherketone (PEEK) or polyamide (PA) should be considered. PEEK can withstand temperatures up to 260°C continuously and has excellent chemical resistance, making it suitable for aerospace and automotive engine components.
Here is a table showing some common injection - moulding materials, their characteristics, and typical applications:
| Material | Characteristics | Typical Applications |
| Polypropylene (PP) | Lightweight, good chemical resistance, high heat resistance (can be used up to about 100 - 120°C), relatively low cost | Consumer products like food containers, automotive interior parts |
| Polyethylene (PE) | Good electrical insulation, low cost, various grades with different densities (HDPE for high - strength applications, LDPE for flexibility) | Packaging (bags, bottles), toys, pipes |
| Polystyrene (PS) | Transparent, easy to process, brittle | Disposable cutlery, packaging for delicate items, model making |
| Polycarbonate (PC) | High impact resistance, transparent, heat - resistant (up to around 130 - 140°C), good dimensional stability | Electronic device housings, automotive lighting components, safety goggles |
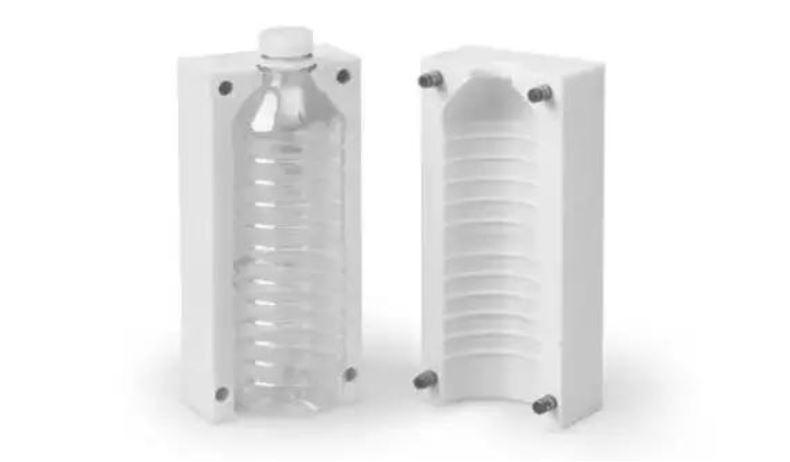
Step 2: Optimized Mold Design
A well - designed mold is crucial for a smooth injection moulding process. Proper runner design ensures that the molten plastic flows evenly into the mold cavity. A balanced runner system distributes the plastic pressure and flow rate uniformly, reducing the risk of short - shots and uneven filling. For example, in a multi - cavity mold, a fan - shaped runner can be used for circular products to ensure equal filling of each cavity.
Efficient cooling system optimization is also essential. Cooling channels should be strategically placed in the mold to ensure uniform cooling of the plastic part. This helps to reduce warping and shrinkage. A common rule of thumb is to place cooling channels at a distance of 1.5 - 2 times the diameter of the channel from the mold cavity surface.
Step 3: Advanced Machine Calibration
Accurate calibration of the injection - molding machine is key to producing high - quality parts. Temperature control is critical. Different materials have specific melting and processing temperature ranges. For example, ABS typically has a processing temperature range of 200 - 250°C. If the temperature is too low, the plastic may not flow properly, leading to short - shots. If it's too high, the plastic may degrade, affecting the part's mechanical properties.
Pressure and speed settings also play a significant role. The injection pressure needs to be adjusted according to the complexity of the mold and the material's viscosity. A higher - viscosity material may require a higher injection pressure to fill the mold completely. The injection speed can affect the surface finish and internal stress of the product. A fast injection speed may cause air entrapment, while a slow speed may lead to long cycle times. Here are some general parameter adjustment ranges and their impacts:
| Parameter | Adjustment Range | Impact |
| Injection Temperature | ±20°C around the recommended value for the material | Affects melt flowability and part quality |
| Injection Pressure | 50 - 200 MPa (varies by machine and application) | Determines filling ability and part density |
| Injection Speed | 10 - 200 mm/s | Influences surface finish and internal stress |
Step 4: Effective Process Monitoring
Real - time monitoring of the injection - molding process is essential to detect and correct issues promptly. Sensors can be used to monitor various parameters during the process. For example, pressure sensors placed in the mold cavity can detect changes in pressure, which can indicate problems such as blockages in the runner or improper filling. Temperature sensors can monitor the temperature of the plastic melt, mold, and cooling channels.
Monitoring software provides a comprehensive view of the process. It can collect and analyze data from multiple sensors, display real - time process parameters, and generate reports. Some advanced software can even predict potential problems based on historical data and current process trends. For instance, if the software detects a gradual increase in the injection pressure over several cycles, it may indicate a clogging issue in the runner system, allowing operators to take preventive measures before it leads to product defects.
Yigu Technology's Perspective
As a non - standard plastic metal products custom Supplier, Yigu Technology deeply understands the significance of simplifying the injection moulding process. In material selection, we have rich experience in matching the most suitable materials to product requirements, considering factors like cost - effectiveness and performance. For example, for products with high - precision requirements, we carefully evaluate materials to ensure dimensional stability.
In mold design, our team focuses on creating molds that are not only functional but also easy to maintain. By optimizing the mold structure, we can reduce the number of components, making the mold easier to assemble and disassemble. This not only simplifies the production process but also reduces the risk of mold failure.
During production, we use advanced monitoring systems to closely track the injection moulding process. Our real - time monitoring allows us to detect and address any issues promptly, ensuring the stability of product quality. Through simplifying the injection moulding process, we have successfully improved product quality and production efficiency, helping our clients gain a competitive edge in the market.
FAQ about Injection Moulding Process
What are the common problems in injection moulding and how to solve them?
- Flash : Flash occurs when molten plastic leaks out between the mold halves. This can be caused by insufficient clamping force, worn - out mold components, or excessive injection pressure. To solve this, increase the clamping force of the injection - molding machine, check and repair or replace worn - out mold parts such as guide pins and mold cavities, and adjust the injection pressure to an appropriate level.
- Sink Marks : Sink marks are depressions on the surface of the molded part, usually due to uneven cooling or insufficient packing pressure. To address this, optimize the cooling system to ensure uniform cooling, increase the packing pressure and time to compensate for the shrinkage during cooling, and modify the part design if possible to reduce thick - walled sections that are prone to sink marks.
- Short Shots : A short shot happens when the mold cavity is not completely filled with plastic. Reasons include low injection pressure, insufficient plastic flow, or improper venting. Solutions involve increasing the injection pressure, checking and improving the flow path (such as enlarging the runner and gate sizes if necessary), and enhancing the mold's venting system to allow trapped air to escape.
How to choose the right injection moulding machine?
- Clamping Force : Calculate the required clamping force based on the projected area of the product in the mold and the expected cavity pressure. The formula is Clamping Force = Projected Area × Cavity Pressure. For example, if the projected area of the product is 100 cm² and the estimated cavity pressure is 400 kg/cm², the required clamping force is 40,000 kg. The machine's clamping force should be at least 1.17 times this value to ensure the mold does not open during injection.
- Injection Volume : Determine the total volume of plastic needed for each shot, including the product and the runner system. The injection - molding machine's injection volume should be 1.35 times the total plastic volume to ensure stable production. For instance, if the total plastic volume per shot is 100 cm³, the machine's injection volume should be at least 135 cm³.
- Screw Diameter : Consider the type of plastic and the product's requirements. Larger - diameter screws are suitable for high - volume production and materials with good flowability, while smaller - diameter screws can provide higher injection pressure for materials with high viscosity or for products with complex shapes. For example, for processing high - viscosity engineering plastics like PEEK, a smaller - diameter screw may be more appropriate.
Can injection moulding be used for all types of plastics?
Not all plastics are suitable for injection moulding.
- Suitable Plastics: Thermoplastic materials like Polypropylene (PP), Polyethylene (PE), Polystyrene (PS), and Polycarbonate (PC) are very suitable. PP has good chemical resistance and is lightweight, making it ideal for consumer products. PE has excellent electrical insulation properties and is commonly used in packaging. PS is easy to process and often used in disposable items. PC has high impact resistance and is used in electronic device housings. These plastics can be melted and re - solidified multiple times, which is essential for the injection - moulding process.
- Unsuitable Plastics: Some thermosetting plastics are not suitable for injection moulding. Once thermosetting plastics are cured through chemical reactions, they cannot be remelted and reshaped. For example, phenolic resins, which are often used in electrical insulators and some automotive parts due to their heat - resistant and insulating properties, are thermosetting plastics. After curing, they form a permanent cross - linked structure, so they cannot be processed using the injection - moulding method.