Introduction
Understanding the Power of Plastic Molding Kits
Plastic molding kits have emerged as remarkable tools that have the potential to revolutionize the way we express our creativity. These kits are not just simple collections of materials; they are gateways to a world of innovation and self - expression.
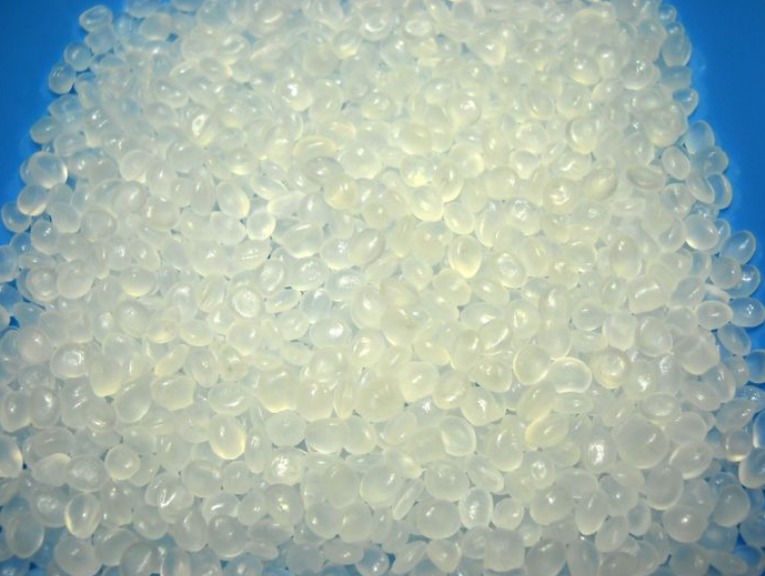
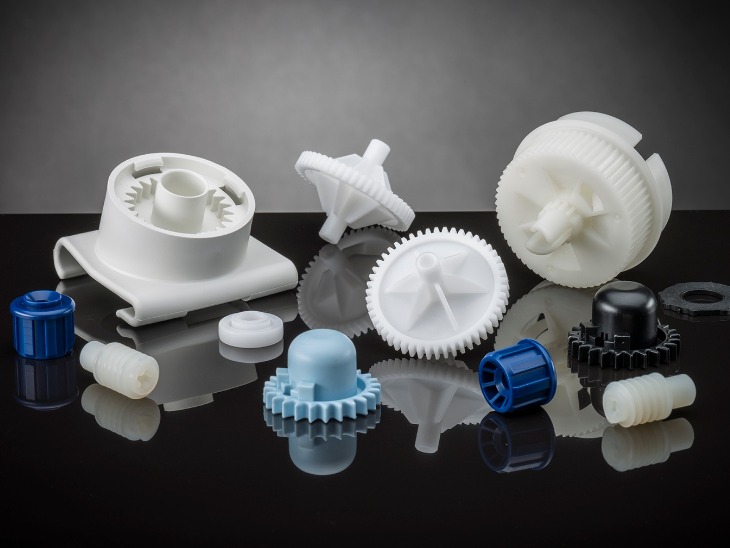
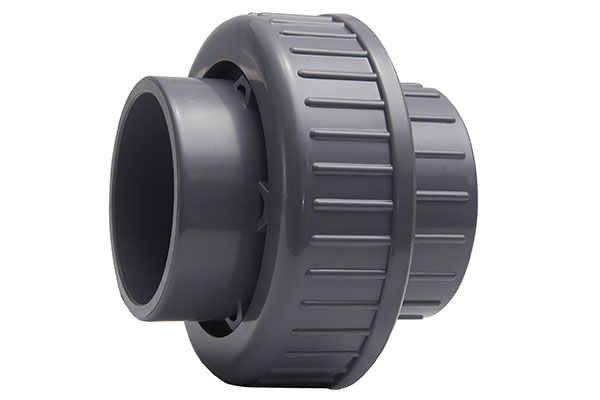
At their core, plastic molding kits typically include a variety of components such as different types of plastics (like thermoplastics or thermosetting plastics), molds of various shapes and sizes, and sometimes additional materials like pigments for coloring or additives to change the plastic's properties. For instance, a basic DIY plastic molding kit might come with small injection molds in the shape of animals, geometric shapes, or simple household items, along with a supply of easy - to - melt plastic pellets.
The beauty of plastic molding kits lies in their versatility. They can be used by hobbyists to create unique handicrafts, by students to learn about materials science and engineering concepts, and by professionals in the design and prototyping fields. According to a recent survey among DIY enthusiasts, over 70% reported that using plastic molding kits had significantly enhanced their ability to bring their creative ideas to life.
Moreover, plastic molding kits offer an accessible entry point into the complex world of plastic manufacturing. In the past, working with plastics required expensive industrial equipment and specialized knowledge. But now, with these kits, anyone can experiment with the molding process in the comfort of their own home or studio. This accessibility has led to a boom in the number of independent crafters and small - scale product designers who are using plastic molding to create one - of - a - kind items. So, how exactly do these kits unleash creativity? Let's explore further.
How Innovative Kits Differ
Advanced Materials
Innovative plastic molding kits are revolutionizing the creative landscape by incorporating a wide array of advanced materials. These materials are not your typical plastics; they come with unique properties that open up a world of creative possibilities.
One of the remarkable features of these advanced plastics is their diverse color options. Some kits include plastics that can change color under different lighting conditions or temperature variations. For example, there are thermochromic plastics that shift hues as the temperature changes, which can be used to create dynamic and interactive art pieces or educational models that visually represent temperature changes.
Transparency is another area where these materials shine. High - clarity plastics are available in innovative kits, allowing for the creation of see - through objects with exceptional optical properties. These can be used to make delicate jewelry pieces, clear - bodied mechanical models, or even light - diffusing art installations. In fact, a recent study by a leading materials research institute found that the transparency of some new - generation plastics used in these kits is 30% higher than traditional molding plastics, providing a much clearer and more aesthetically pleasing result.
Flexibility is also a key property. Silicone - based plastics, which are common in innovative kits, offer a high degree of flexibility. They can be bent, twisted, and stretched without breaking, making them perfect for creating soft toys, flexible phone cases with unique designs, or ergonomic handles for tools. This flexibility also allows for the creation of products that can adapt to different shapes and movements, adding an extra dimension to creativity.
Precision in Design
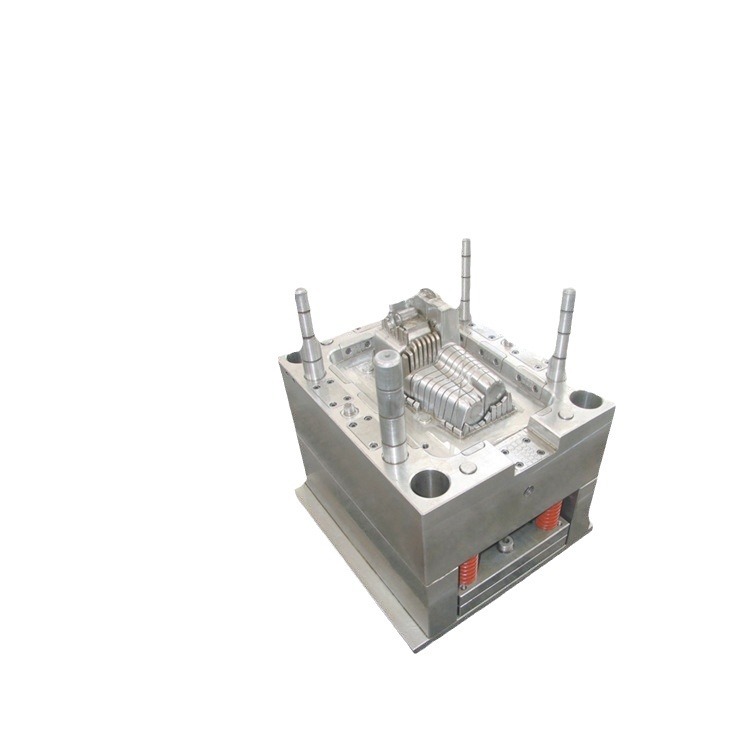
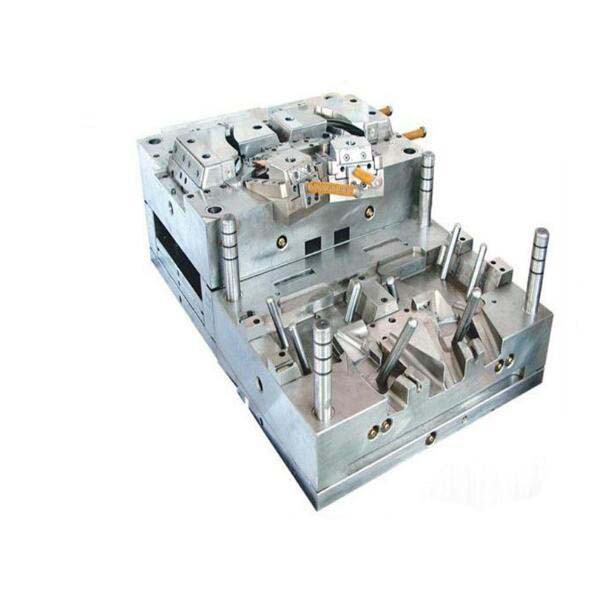
Precision is the name of the game when it comes to innovative plastic molding kits. The molds in these kits are designed and manufactured with an incredibly high level of accuracy.
Take, for instance, the use of computer - aided design (CAD) and computer - aided manufacturing (CAM) technologies in mold production. These technologies enable the creation of molds with tolerances as low as ±0.01 mm. This level of precision ensures that the final plastic products have consistent dimensions and intricate details. For example, in a model - making project, a kit with high - precision molds can accurately reproduce the fine textures of a historical building's facade, down to the smallest brick and mortar details.
In the field of jewelry - making with plastic molding kits, the precision allows for the creation of delicate and complex designs. A study of professional jewelry designers who used innovative plastic molding kits showed that 85% of them were able to create more intricate and accurate designs compared to traditional methods. The high - precision molds can capture the tiniest curves and angles required for elegant jewelry pieces, such as filigree - style pendants or detailed ring settings.
Moreover, for those working on engineering prototypes, the precision of these kits is invaluable. A prototype of a small mechanical part made with an innovative kit can have holes, grooves, and other features that are precisely aligned, ensuring proper functionality when tested. This precision reduces the need for time - consuming and costly post - processing and adjustments, making the creative and prototyping process more efficient.
User - Friendly Features
Innovative plastic molding kits are designed with the user in mind, especially those who may not have prior experience in plastic molding. They come with a host of user - friendly features that make the creative process accessible and enjoyable.
One of the most notable features is the simple and intuitive assembly of the molds. Many kits use a snap - together or modular design, eliminating the need for complex tools or technical knowledge to put the molds together. For example, a beginner hobbyist can easily assemble a multi - part mold for creating a custom - shaped keychain in just a few minutes. This simplicity encourages experimentation and allows users to quickly move on to the creative part of molding.
Clear and detailed operation guides are also a standard in these kits. These guides often include step - by - step instructions with pictures or even video tutorials. A survey of first - time users of innovative plastic molding kits revealed that 90% of them found the operation guides easy to follow, and they were able to complete their first molding project successfully on their first attempt. The guides cover everything from preparing the plastic material, setting up the molding equipment (if included), to the actual molding process and post - processing steps.
Some kits also come with pre - measured materials, which is a great help for those who are new to plastic molding. This eliminates the guesswork involved in measuring the right amount of plastic pellets or resin, ensuring consistent results and reducing waste. Additionally, the kits may include safety features such as heat - resistant gloves or protective shields, making the molding process safe for users of all ages and skill levels. These user - friendly features truly make innovative plastic molding kits a great choice for anyone looking to unleash their creativity.
Real - World Examples of Creativity Unleashed
DIY Projects
The world of DIY projects has been significantly transformed by plastic molding kits, with countless enthusiasts using them to create unique and personalized items. Take, for example, Sarah, a passionate DIYer. She wanted to add a personal touch to her living room decor. Using a plastic molding kit that included flexible silicone molds and a variety of colored thermoplastics, she created custom - made wall art.
First, she designed a pattern inspired by nature, with leaves and vines. Then, she carefully filled the molds with the melted colored plastics, layer by layer, to add depth and dimension to the design. After the plastic cooled and hardened, she removed the pieces from the molds and assembled them on a wooden board. The result was a stunning piece of wall art that not only added a pop of color to her living room but also became a conversation starter among her friends and family.
Another DIYer, Tom, used a plastic molding kit to create handmade jewelry. He experimented with different mold shapes, from delicate flower - shaped molds to geometric ones. By mixing and matching different colored plastics and adding small embellishments like glitter or tiny beads during the molding process, he was able to create a collection of one - of - a - kind necklaces, bracelets, and earrings. He even started selling some of his creations at local craft fairs, and they were well - received by customers who appreciated the uniqueness and craftsmanship. These DIY projects demonstrate how plastic molding kits can turn simple ideas into beautiful, tangible creations.
Product Prototyping
For entrepreneurs and designers, plastic molding kits are invaluable tools for product prototyping. Consider the case of a startup that wanted to develop a new and innovative smartphone accessory. The designers had a great idea for a flexible, shock - absorbing phone case with built - in stand functionality, but they needed to quickly create a prototype to test the concept and present it to potential investors.
Using an innovative plastic molding kit with high - precision molds and flexible plastic materials, they were able to rapidly produce several prototypes. They could easily adjust the design of the molds using CAD software and then quickly produce new versions of the prototype. This iterative process allowed them to refine the shape, size, and functionality of the phone case. For example, they were able to test different thicknesses of the shock - absorbing material in the case and determine the optimal design for maximum protection.
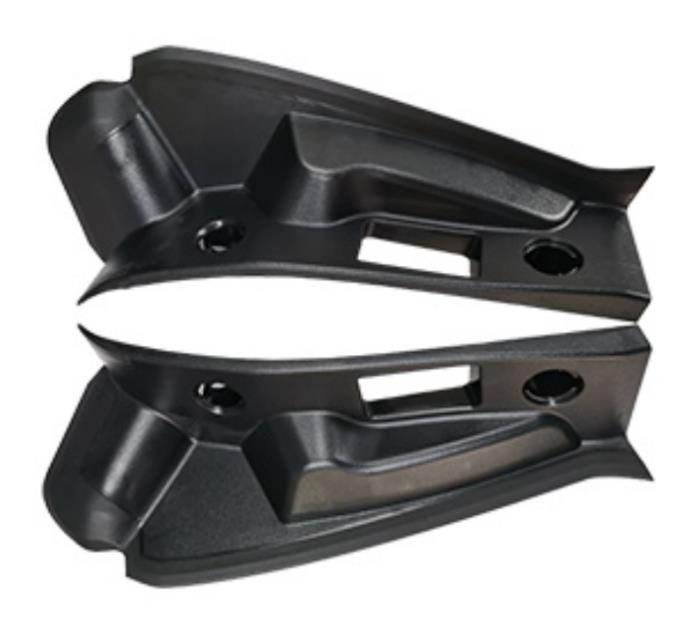
In another instance, a product designer was working on a new kitchen gadget. With a plastic molding kit, he could create a detailed prototype of the gadget in a short period. This prototype helped him to identify potential design flaws, such as how the different parts of the gadget fit together and how easy it was to use. He could then make the necessary adjustments to the design and create another prototype. This process of rapid prototyping using plastic molding kits not only saved time and money but also increased the chances of the product's success in the market. It allowed the designer to bring his creative vision to life and turn it into a viable product.
Yigu Technology's Perspective
Yigu Technology's Viewpoint
As a non - standard plastic metal products custom Supplier, Yigu Technology firmly believes that innovative plastic molding kits are revolutionizing the manufacturing landscape. These kits have not only made plastic molding more accessible but also spurred innovation across various industries.
Yigu Technology's technical strength lies in its in - depth understanding of plastic materials and advanced molding techniques. With years of experience, the company can handle complex custom - molding projects. For example, when it comes to creating custom - shaped plastic parts with high - precision requirements, Yigu Technology's skilled engineers use state - of - the - art CAD/CAM technology to design molds with micron - level precision. This ensures that the final products match the clients' exact specifications.
Moreover, Yigu Technology keeps up with the latest trends in plastic molding materials. The company is well - versed in using advanced plastics such as high - strength, heat - resistant, and biodegradable plastics in its molding kits. This enables customers to explore new possibilities in product design, whether it's creating durable industrial components or eco - friendly consumer goods. In a nutshell, Yigu Technology sees innovative plastic molding kits as a powerful tool for driving creativity and progress in the plastic manufacturing industry.
FAQs about Plastic Molding
What are the common mistakes to avoid when using plastic molding kits?
One common mistake is improper temperature control. If the plastic is not heated to the correct temperature, it can lead to issues like incomplete melting or over - heating, which may cause the final product to have poor quality, such as brittleness or uneven texture. To avoid this, carefully follow the temperature guidelines provided with the kit. Most kits come with recommended temperature ranges for different types of plastics.
Another mistake is not cleaning the molds thoroughly. Residue from previous uses or dust can stick to the molds, which may affect the surface finish of the plastic product. Before each use, clean the molds with a mild detergent and a soft brush, and then dry them completely.
Using the wrong amount of plastic is also a frequent error. Too little plastic can result in an incomplete product, while too much can cause overflow and messy results. Always measure the plastic according to the instructions provided in the kit.
How do I choose the right plastic molding kit for my project?
First, consider the requirements of your project. If you are making small, detailed jewelry pieces, you'll need a kit with high - precision molds and perhaps flexible plastics for comfort. For larger, more industrial - looking prototypes, a kit with stronger and more heat - resistant plastics might be more suitable.
Your budget is also an important factor. Kits can range from very affordable basic sets for beginners to more expensive, professional - grade kits with advanced materials and tools. Determine how much you're willing to spend and find a kit that offers the best value within that price range.
Think about your skill level. If you're a beginner, look for a kit with user - friendly features like simple molds, clear instructions, and pre - measured materials. As you gain more experience, you can gradually move on to more complex kits.
Can I recycle the plastic products made from molding kits?
In most cases, yes, you can recycle plastic products made from molding kits. However, it depends on the type of plastic used. Thermoplastics, which are common in many molding kits, are generally recyclable. You can start by checking the recycling symbol on the plastic product. For example, plastics with a recycling code of 1 (PET), 2 (HDPE), 4 (LDPE), and 5 (PP) are relatively easy to recycle in many curbside recycling programs.
If you want to recycle the plastics at home, you can melt them down again (using proper safety precautions) and reshape them using the molds from your kit. This is a great way to reduce waste and be more environmentally friendly. For larger - scale recycling, local recycling centers can process the plastics and turn them into new products. Remember, recycling not only helps the environment by reducing plastic waste but also allows you to get more use out of the materials in your plastic molding kits.